Homemade Puff Pastry Recipe: A Step-by-Step Guide

Puff pastry, known for its delicate, flaky layers, has a rich history dating back to the 17th century. It is believed to have originated in France, even though its roots can also be traced again similarly to historical Middle Eastern pastry techniques. The invention of puff pastry is frequently attributed to French chef Sylvain Claudius Guillemin, who developed the method of layering dough and butter in the 1600s. Over time, puff pastry advanced and became a staple in French and European baking. Its versatility has made it a key ingredient in both sweet and savory dishes, from croissants to tarts. Today, it remains one of the most cherished pastry types in the world.
Ingredients
- 2 ½ cups (315g) all-purpose flour – plus extra for dusting
- 1 tsp salt
- 1 cup (225g) unsalted butter – cold, cut into small cubes
- ¾ cup (180ml) ice-cold water – you may need a little more or less
- 1 tbsp lemon juice (optional) – helps with dough elasticity
- 1 tbsp white vinegar (optional) – helps prevent shrinkage during baking
Equipment:
- Rolling pin
- Pastry scraper or bench scraper
- Large mixing bowl
- Plastic wrap or parchment paper
- Refrigerator
Making Method and Steps
Puff pastry, with its golden, flaky layers, is the base for lots of delicious pastries, truffles, and savory treats. While save-bought versions are convenient, nothing beats the buttery, delicate texture of homemade puff pastry. Don’t fear; though the process takes time, it’s not as tricky as it can seem! Follow this distinctive recipe for perfectly flaky, buttery puff pastry every time.
Step 1: Prepare the Butter Block (Beurrage)
The key to puff pastry is the butter. It’s important to get the butter inside the dough lightly to create perfect, flaky layers.
- Chill the butter: Before you start, put your butter cubes in the fridge for about 15 minutes. Cold butter creates the preferred layers because it doesn’t melt too quickly while working with the dough.
- Create the butter block: Lay a sheet of plastic wrap or parchment paper on your countertop. Spread out the cold butter cubes into an even rectangle (about 6 inches x 6 inches). Place some other pieces of plastic wrap or parchment paper on top. Using a rolling pin, flatten and form the butter into a smooth square or rectangle, about ½ inches thick. Once shaped, refrigerate the butter block while you prepare the dough.
Step 2: Make the Dough
Now let’s make the dough (known detrempe) that will encase your butter.
- Mix dry substances: In a bowl, combine the flour and salt.
- Add the cold water: Gradually add the ice-cold water (and lemon juice or vinegar, if using), stirring with a spoon or your fingers to form a rough dough. The dough should be slightly shaggy, not too moist or sticky. Add a tablespoon of water at a time if necessary.
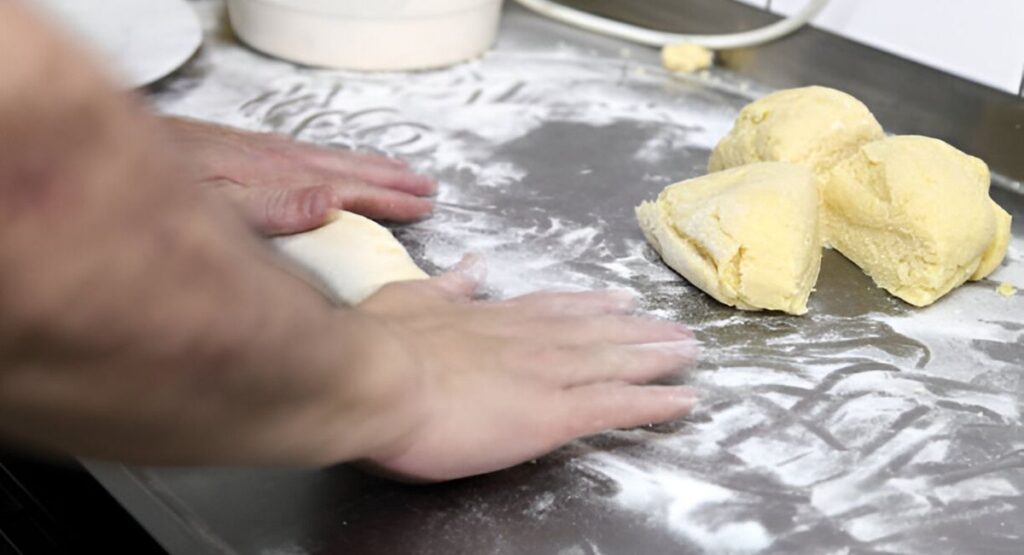
- Knead briefly: Turn the dough out onto a lightly floured floor and knead for approximately 2-3 mins till it forms a smooth, cohesive ball. Don’t overwork the dough.
- Rest the dough: Wrap the dough in plastic wrap and refrigerate it for a minimum of half an hour. This resting period helps relax the gluten in the dough, making rolling out lots easier.

Step 3: Encase the Butter
Once the dough has rested, it’s time to envelop the butter block inside.
- Roll out the dough: On a lightly floured surface, roll the dough right into a rectangle about 12 inches x 6 inches.
- Encase the butter: Take the chilled butter block from the fridge and place it in the middle of the dough. Fold the dough over the butter like a letter first, fold the bottom 1/3 of the dough up, then fold the top 1/3 down over it. You should now have a small packet of dough with the butter inside.
Step 4: The First Roll and Fold (Single Turn)
This step creates the initial layers of puff pastry.
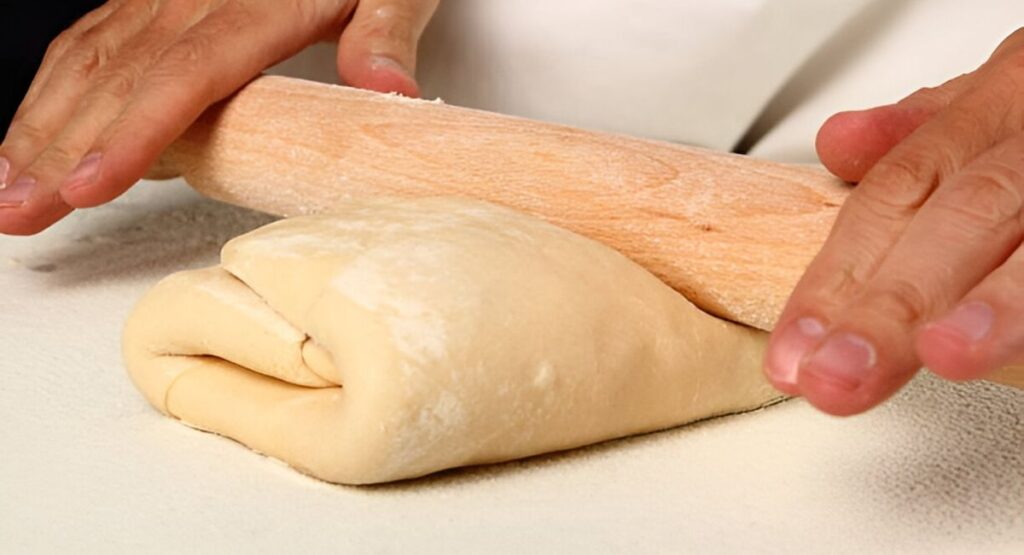
- Roll out the dough: With the dough packet facing you like a book, use a rolling pin to softly roll it into a long rectangle about 20 inches x 10 inches. Keep your work surface and rolling pin lightly floured.
- Fold the dough: Fold the dough into thirds again, like a letter. You need to now have a smaller rectangle. This is known as a single turn.
- Chill the dough: Wrap the dough in plastic wrap and refrigerate for half-hour to an hour. This resting period helps the gluten relax and the butter stays cold.
Step 5: Repeat the Turns
Now, we will repeat the rolling and folding method to build up the layers.
- Roll out and fold again: After the dough has rested, remove it from the refrigerator. Roll it out into a long rectangle again (approximately 20 inches x 10 inches), then fold it into thirds. This is the second turn.
- Rest and repeat: Wrap the dough and chill for another half-hour. Repeat this rolling and folding technique for a total of four turns. Each time, roll out the dough into a long rectangle, fold it into thirds, and rest it in the fridge. You’ll start to notice the dough becoming more layered with every turn.

Step 6: Final Rest
After the fourth and final turn, wrap your puff pastry tightly in plastic wrap and chill it for at least 1 hour, preferably overnight. The dough needs to be well-chilled before you use it to save the butter from melting.

Pro Tips:
- Keep the dough and butter cold throughout the process to ensure a flaky texture. If the butter starts to soften, chill the dough before continuing.
- Work quickly but gently. You don’t want to overwork the dough or heat up the butter.
- If you’re in a rush, you could freeze your puff pastry for up to 2 months. Just make sure it’s wrapped tightly.
Conclusion
Making puff pastry from scratch is a rewarding process that may increase your baking and cooking. While it takes a bit of time, the outcomes are well worth it. Whether you are making a sweet dessert or a savory appetizer, homemade puff pastry will add a touch of homemade goodness to any dish. Happy baking.